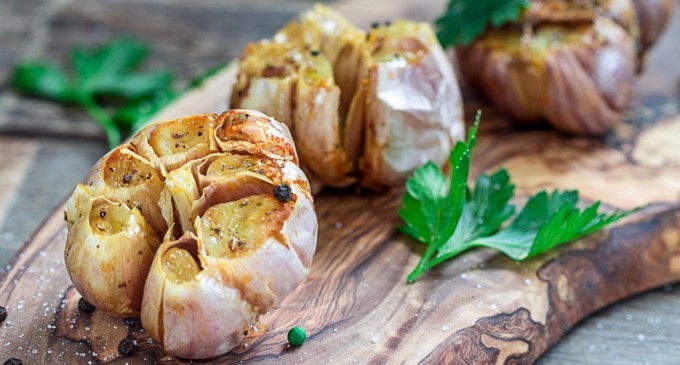
Here's everything you need to know for making roasted garlic right in your own kitchen. If you've never had roasted garlic before, you're going to be amazed by how great this tastes!
Let's Get Started…
The first thing you need to do is grab a bunch of heads of garlic. Try not to buy them too small. Then, cut off just enough of the top to expose all of the cloves inside.
Next, find one of your oldest, dearest pie pans. I like this one best, especially because it still has the remnants of an old burned pie along the edges. It’s a reminder to me of my chronic and eternal imperfection. Anyway, when you’re through wallowing around in self doubt over the fact that one of your clean pans actually isn’t clean at all, drizzle a little olive oil (1 or 2 tablespoons) in the pan.
Then, just tilt the pan around to coat the bottom thoroughly.
Next, place the garlic heads, cut side up, in the pan. If the heads won’t sit flat on the pan, just give the bottom a little slice to even it out. My bottoms were really flat to begin with, so I didn’t have to do anything. (Note: I did not say MY BOTTOM is flat. It isn’t. Not at all. I wish it were, but it isn’t. And I don’t want to talk about this anymore so please stop bringing it up.)
They look a bit like some bizarre form of sea creature at this point, don’t they? Except they’re not submerged in water. So never mind.
Drizzle the exposed cloves with olive oil. You want them to have a coating of moisture so they won’t burn easily.
Then, sprinkle the cloves with salt.
You'll also want to pepper them after you salt them.
Now they’re ready to pop in a 375-degree oven.
But first, cover the pan with aluminum foil.
Then place it into the oven for 40 to 45 minutes.
Finished!
Now just add them to your favorite pasta or soup, make roasted garlic mashed potatoes from them, or just spread them across some crusty bread for some amazing toast.
Happy Baking & Enjoy!
Article Source: The Pioneer Woman


There are no comments at the moment, do you want to add one?
Write a comment